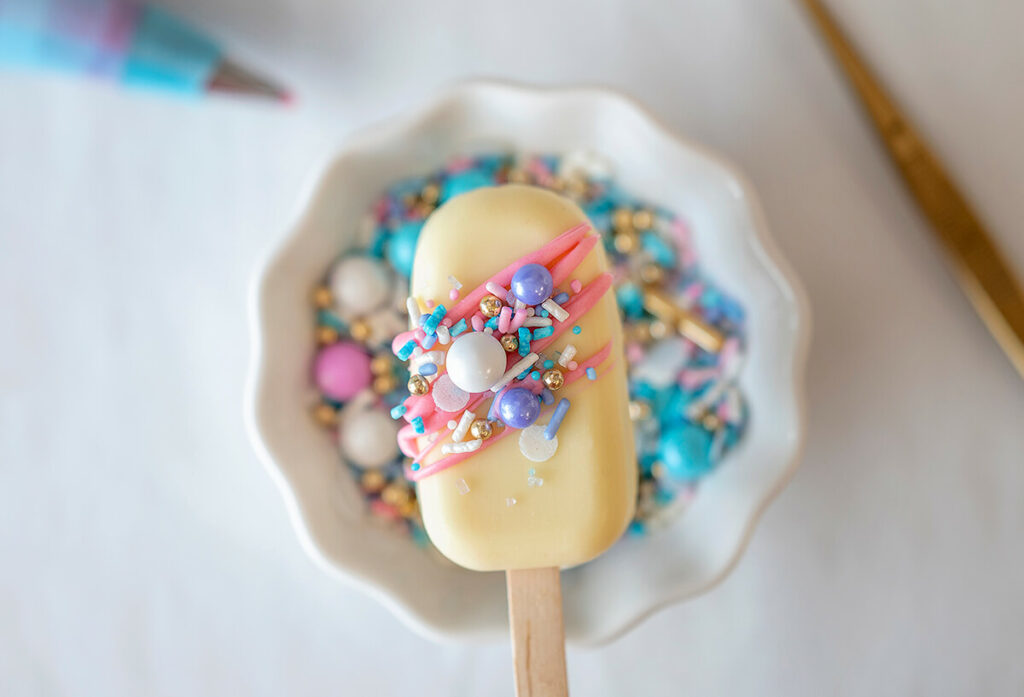
In the Dutch Apron® Bakery kitchen, summer baking is in full swing, and we’ve prepared a delicious new recipe for you to indulge in this season: Lemon Ice Cream Cakesicles. These frozen-looking treats are a fun, unique twist on a traditional cake pop, with each treat being molded and designed to resemble everyone’s favorite ice cream bars. The inside is bursting with refreshing, citrus flavor thanks to the combination of light, lemon cake and sweet, lemon-flavored crème filling. Outside, colored candy melts, sprinkles, and a popsicle stick work together to finish transforming this indulgent cake roll into a summertime staple.
Lemon Ice Cream Cakesicles may not look like your usual cake pops, but they’re just as easy to make. From preparing the lemon cake base to shaping the cakesicles and adding the finishing touches, we provide all the details you need to recreate this refreshing dessert at home. So, gather your supplies, put on your apron, and let’s dive into the fun-filled process of making these irresistible treats.
More Lemon Crème Cake Roll Recipes

No-Bake Lemon Cheesecake
The No-Bake Lemon Cheesecake is bright, refreshing, and comes together in just minutes – no baking required. It’s much lighter than a traditional cheesecake, and the addition of our lemon-flavored crème filling gives it the perfect zesty finish. This tart, summertime treat is just the thing to effortlessly impress at your next get together.
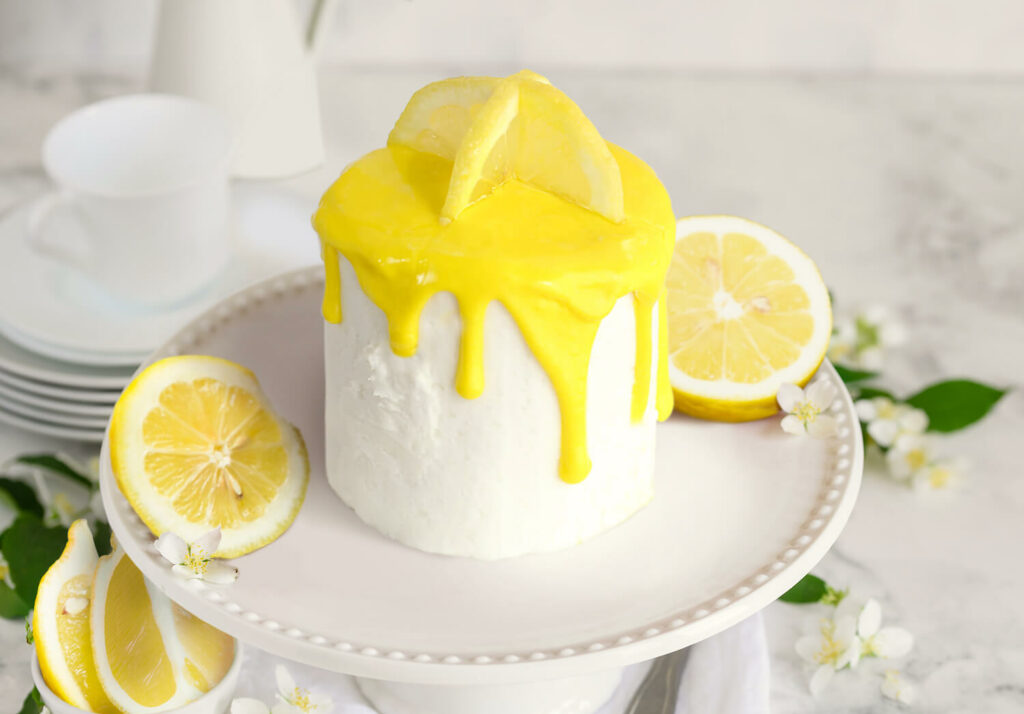
Lemon Drip Cake Roll
Moist and packed full of lemon flavor, from the cake to the crème filling, this dessert is a citrus lover’s dream. The beautiful yellow drip and decorative lemon slices give it the perfect finishing touch. This confection is elegant, bright, and delicious, making it the ideal dessert to help you celebrate the warm days of spring.
Lemon Crème Cake Balls
It’s almost officially spring! That means it’s time to get out your favorite recipes featuring all those tasty spring flavors. Just like the season, our Lemon Crème Cake Balls are fresh and bright. Perfectly simple and undeniably refreshing, they are the treat you need to say goodbye to the cold and gloomy days of winter.
What You’ll Need
- A hand mixer and large mixing bowl to combine the cake and crème filling. This will form the base of your Lemon Ice Cream Cakesicles, so you want to make sure everything is well combined and there aren’t any large chunks. Alternatively, you can mix the cake and crème filling together by hand.
- Ice Cream Silicone Molds are the key to achieving the perfect cakesicle shape. You want a mold that resembles a classic ice cream bar shape. Your mold should be made of food-safe silicone material to make removing the cakesicles as easy as possible.
- Cakesicle molds can easily be found and ordered online. This is the link to the molds we used: Set of 2 Silicone Cakesicle Molds.
- To create the handle of your cakesicles, you’ll need popsicle sticks. Make sure they are long enough to extend beyond the cakesicle molds but not so long that they stick out too far.
- A parchment-lined cookie sheet or two will help keep your counter as clean as possible as you decorate.
- Piping bags will be needed to help with the final decoration.
Storage Information
Allow your Lemon Ice Cream Cakesicles to set completely before storing them in an airtight container in a cool place. They will last up to three days if stored at room temperature. Though, if your house is kept on the warmer side, we recommend storing them in the refrigerator to avoid the chocolate melting. They can be stored in the refrigerator for up to one week.
Tips for Making Lemon Ice Cream Cakesicles
- When coating the cakesicles with melted chocolates or candy melts, ensure the coating is smooth and evenly applied. Use the back of a spoon or an offset spatula to spread the coating, ensuring it covers the entire surface of the cakesicle. This will create a beautiful, professional appearance.
- Get creative with your decorations! Sprinkle rainbow-colored or lemon-themed sprinkles on top of the freshly coated cakesicles to enhance their visual appearance. You can also drizzle melted white chocolate or lemon-flavored glaze for an extra burst of flavor. This is the perfect time to add your own spin to your creations!
- Allow the assembled cakesicles to refrigerate for the recommended time. Letting them cool ensures they hold their shape.
Ready to Delight in a Batch of Irresistible Lemon Ice Cream Cakesicles?
Servings: This recipe makes approximately 24 Lemon Ice Cream Cakesicles, perfect for sharing and indulging.
Ingredients
- 1 Dutch Apron® Bakery Lemon Crème Cake Roll
- 2 pkg. white chocolate or white chocolate candy melts
- Sprinkles
- Red food coloring, optional
Instructions
Prepare the Cake
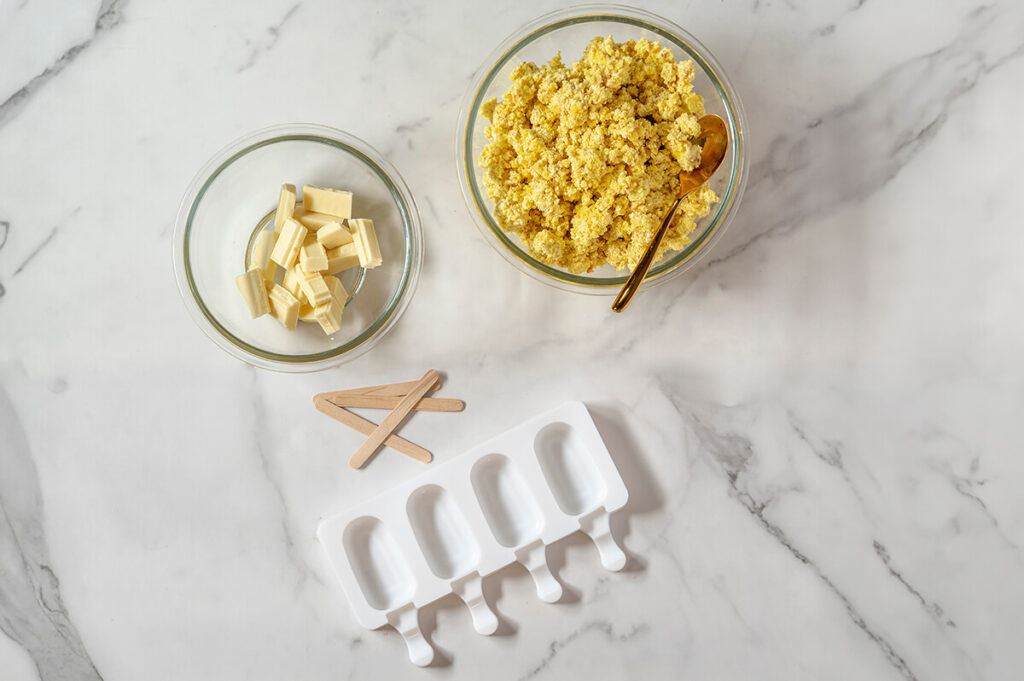
- Take the Lemon Crème Cake Roll out of the packaging let it sit on the counter to thaw for 30 minutes.
- Once thawed, break off or cut up pieces of the cake roll and place them into a large mixing bowl. Then, using a mixer on medium speed, beat until thoroughly mixed. You can also mix the cake and filling together by hand if you prefer.
Create the Cakesicle Shell
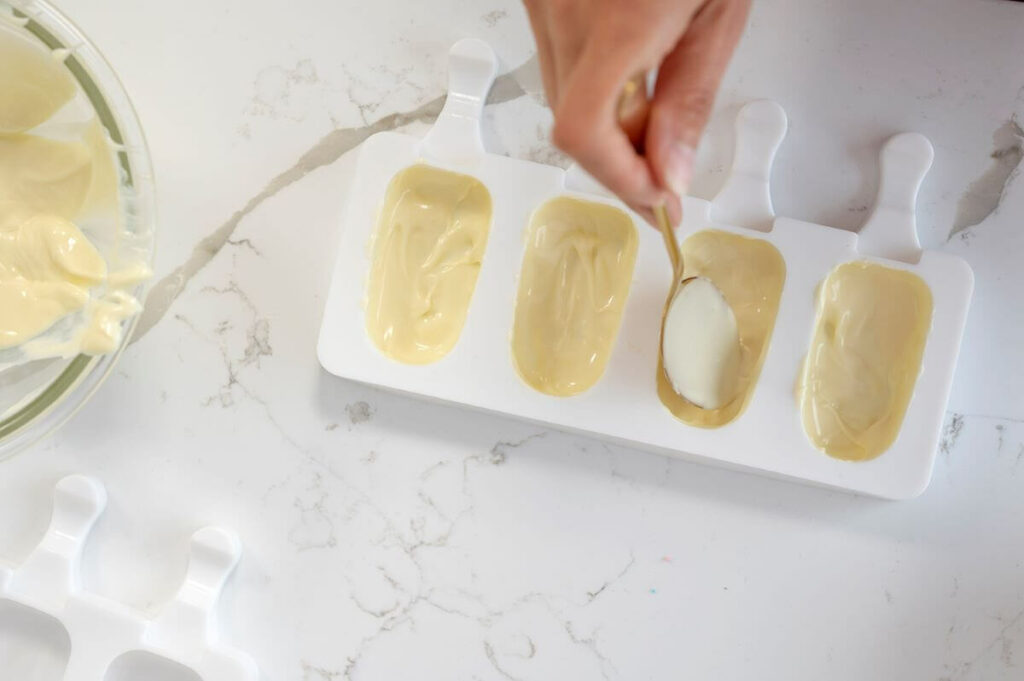
- Melt your white chocolate or candy melts in a microwave-safe bowl according to the package instructions.
- Take a spoonful of the melted chocolate and pour it into the first cakesicle mold. Allow it to set for about 15 seconds, so it can thicken slightly.
- Tip: We recommend working on one cakesicle at a time as the coating sets quickly.
- Using the back of a spoon, spread the coating evenly around the mold, going up the sides about three times to ensure a thick enough shell.
- Repeat this process for the remaining molds.
- Place the molds in the freezer for a few minutes to allow the coating to set.
- Tip: We did this process twice to ensure we had a thick enough shell and to prevent cracking.
Chill and Fill
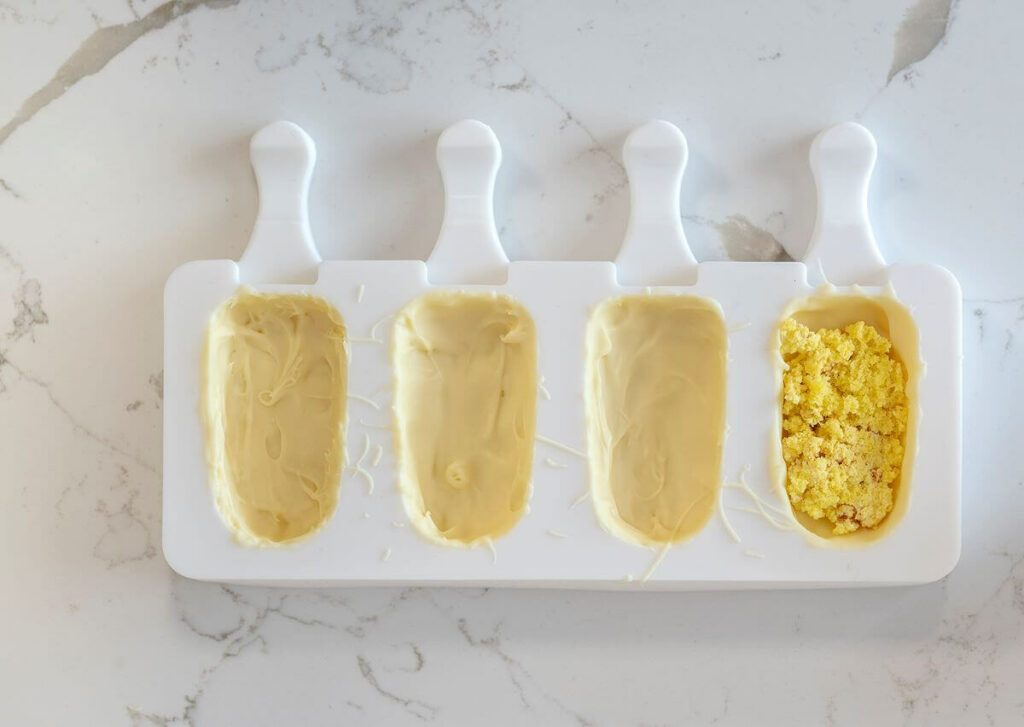
- Remove the mold from the freezer and let them sit for about three minutes.
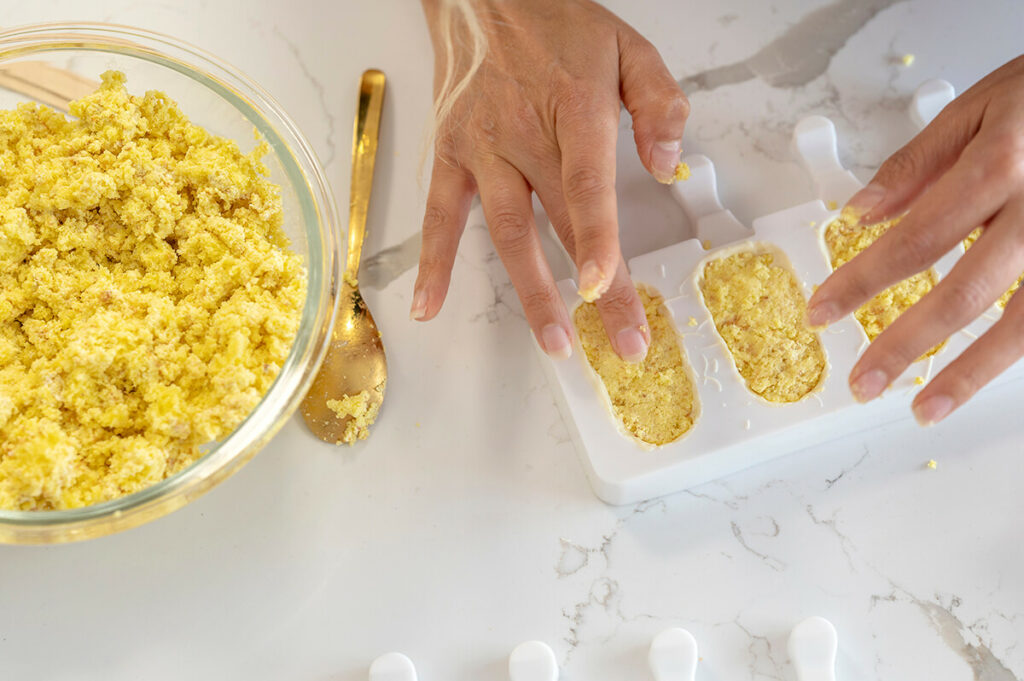
- Take a small portion of the crumbled cake mixture and gently press it into the molds. It should fill up to just below the top of the mold to leave room for the final coating.
- Flatten the top of the cakesicles to ensure they lay flat once removed from the molds.
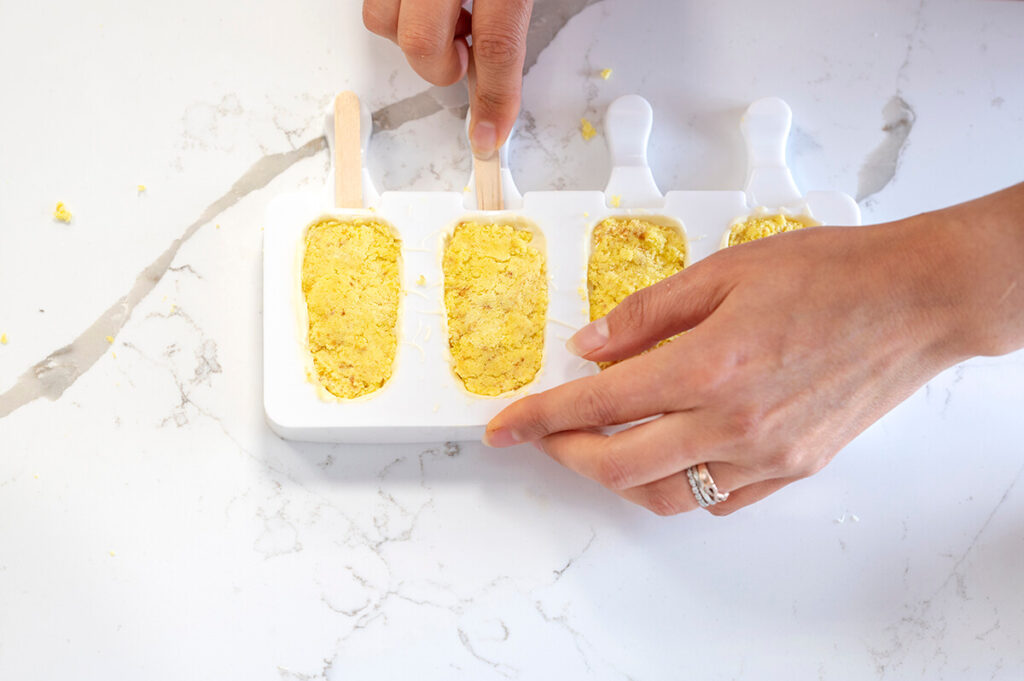
- Insert the popsicle sticks into the filling, gently pushing them through the coating.
Final Coating and Freezing
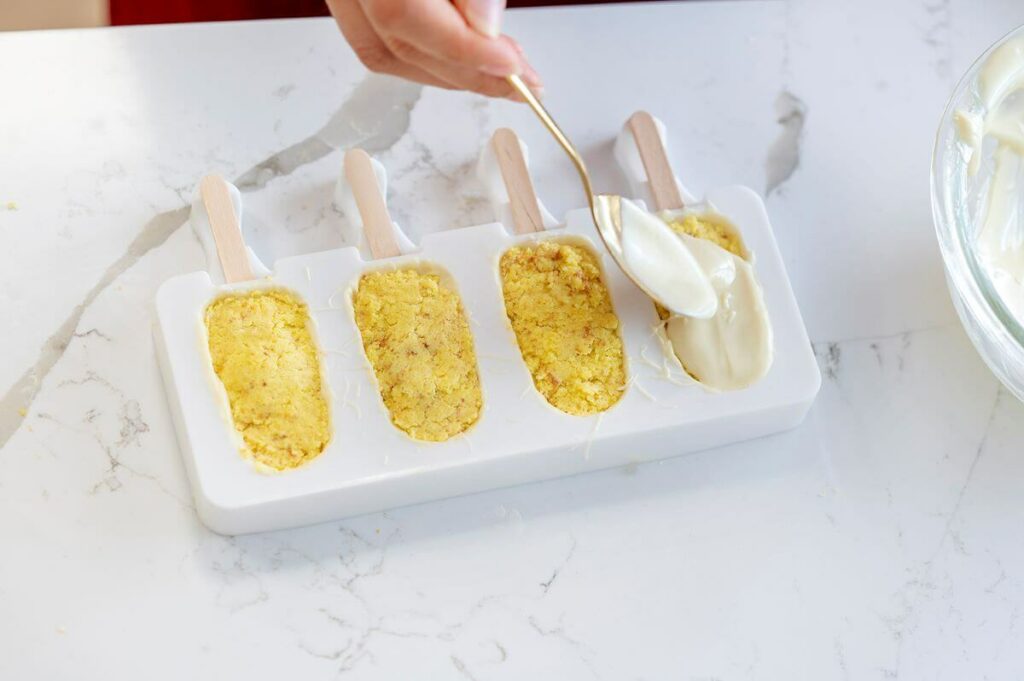
- Using your spoon, add a small amount of melted chocolate/candy melts on top of the cake layer, spreading it to the edges and smoothing the surface as you go.
- Once all the cakesicles are coated, place them in the freezer for five minutes to finish setting.
Decorate Your Lemon Ice Cream Cakesicles
- Gently, remove the cakesicles from the molds. Start at the top of the mold and slowly push them out. When you reach the base, carefully pull the cakesicle sticks up through the mold.
- Use a warm knife to trim any rough edges or excess coating.
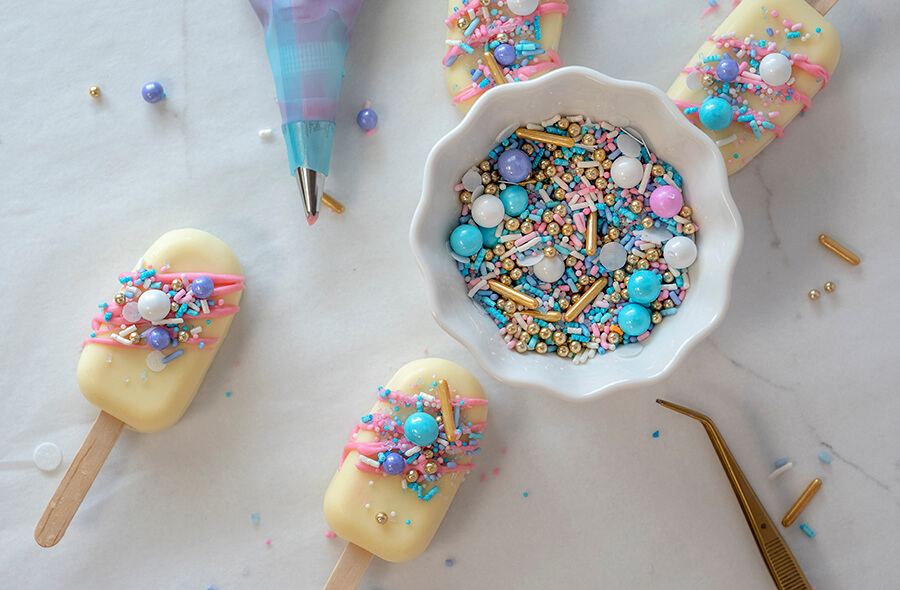
- At this stage, you can also add an extra, decorative touch by drizzling colored chocolate or candy coating over the cakesicles.
- To achieve the pink color we used, melt the remaining white chocolates or candies and add a few drops of food coloring until the desired color is reached. Pour into a piping bag and cut off the tip.
- Then, place your cakesicles down flat on a cookie sheet lined with parchment paper. Drizzle the pink coating over the cakesicles until you achieve your desired look.
- Add your sprinkles for a final, finishing touch. Press the sprinkles lightly into the coating before letting it harden completely.
Lemon Ice Cream Cakesicles combine the tanginess of lemons with the creamy taste of white chocolate and crème filling, offering a refreshing and indulgent experience that’s perfect for summer. Whether you’re planning a backyard gathering, hosting a pool party, or simply looking for a delightful treat to enjoy on a sunny afternoon, these Lemon Ice Cream Cakesicles are sure to effortlessly impress.
Remember, this recipe is just a starting point for your creativity. Feel free to customize and experiment with different flavors, fillings, and decorations to make these cakesicles your own. Add a dollop of lemon curd, a sprinkle of crushed graham crackers, or try some more fruity flavors. This is your time to get creative. And don’t forget to share your creations with us and let us know how your Lemon Ice Cream Cakesicles turned out.