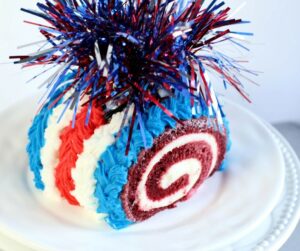
Are you ready to take your cake decorating skills to the next level? Our Dripping Ice Cream Cone Cake Roll is a show-stopping dessert that is sure to impress your guests’ eyes as well as their taste buds. This delightful treat is a combination of a luscious, sweet Strawberry Cheesecake Cake Roll, buttercream frosting, and charming, ice cream cone cake pop. With its vibrant colors, sprinkle-coated sides, and candy drip, this cake roll looks just like a dripping ice cream cone, making it perfect for celebrating any special occasion.
Whether you’re a seasoned baker looking to challenge yourself or a beginner eager to effortlessly impress your loved ones, this bright and fun cake roll will surely steal the spotlight. Now, don your apron, set out your cake roll, and let’s get decorating!
Want More Ice Cream with Your Cake Rolls?
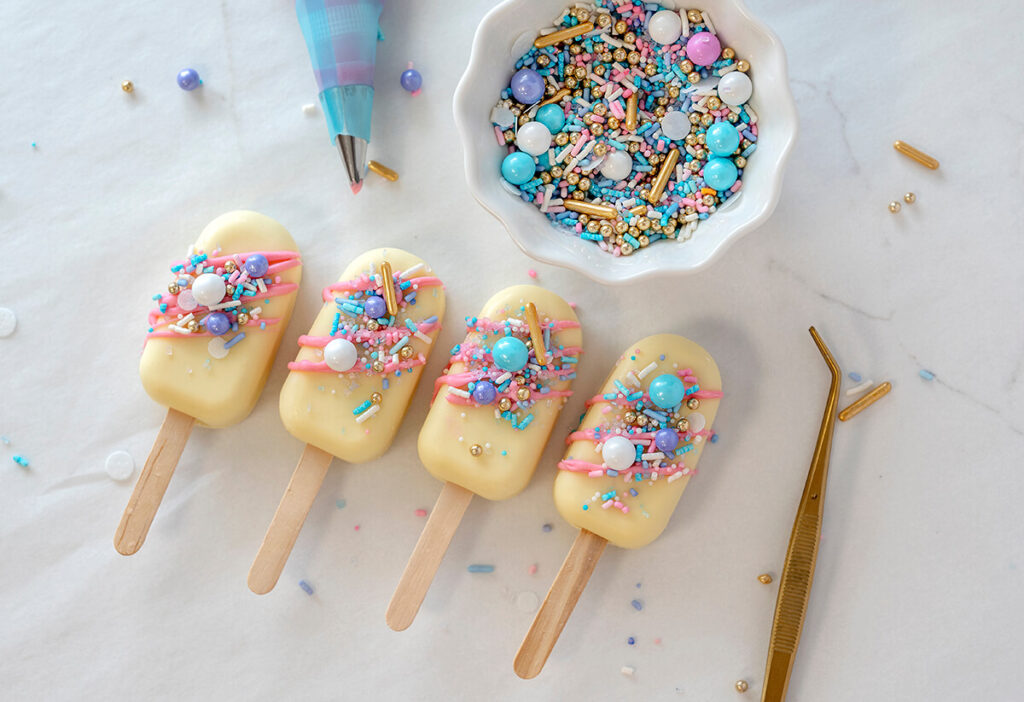
Lemon Ice Cream Cakesicles
These frozen-looking treats are a fun, unique twist on a traditional cake pop, with each treat being molded and designed to resemble everyone’s favorite ice cream bars. The inside is bursting with refreshing, citrus flavor thanks to the combination of light, lemon cake and sweet, lemon-flavored crème filling. Outside, colored candy melts, sprinkles, and a popsicle stick work together to finish transforming this indulgent cake roll into a summertime staple.
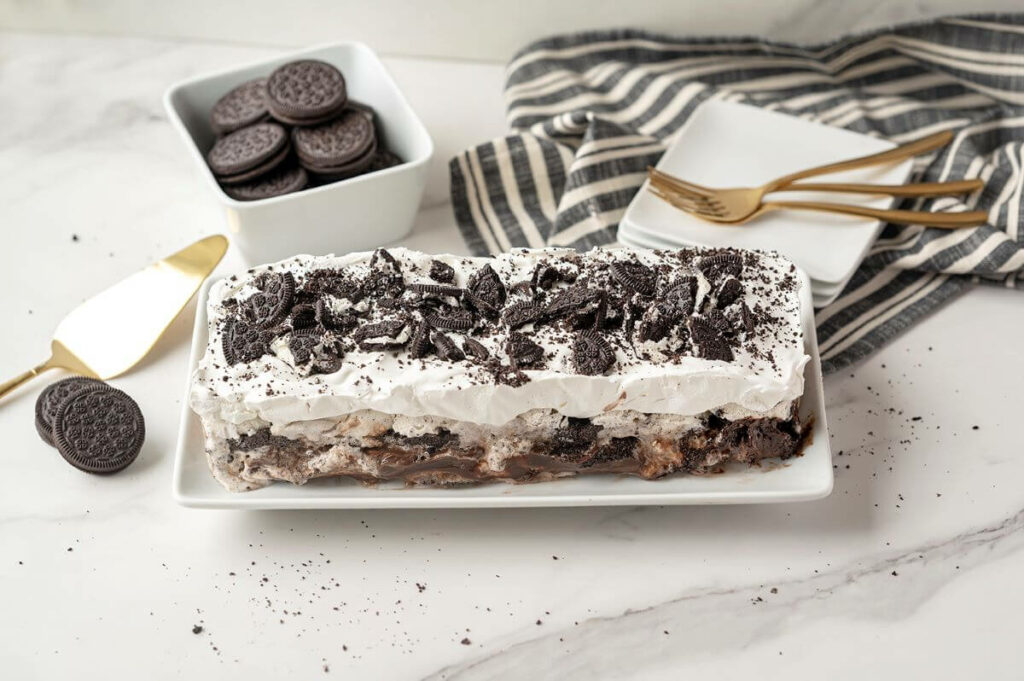
Chocolate Ice Cream Cake
Who says you can’t have your cake and eat ice cream, too? With this cake, you get a mouthwatering combination of two of life’s greatest indulgences: chocolate cake and cookies and cream ice cream. So, gather your friends and family, grab a spoon (or two), and let the celebration begin!
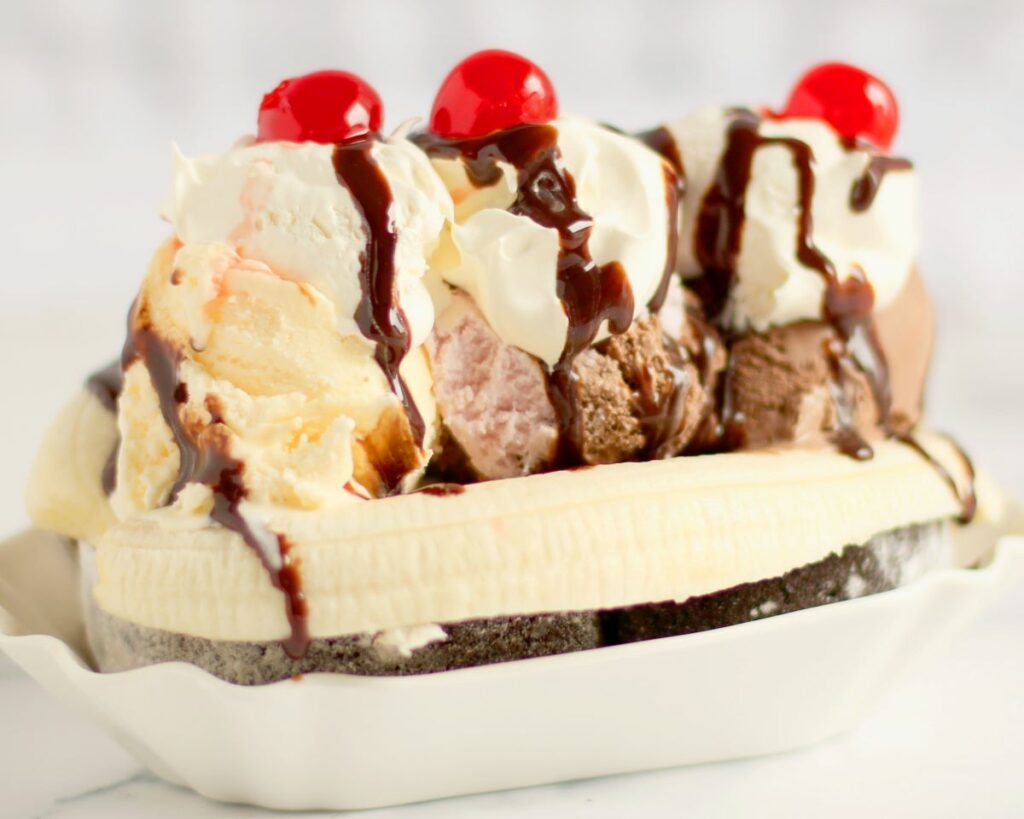
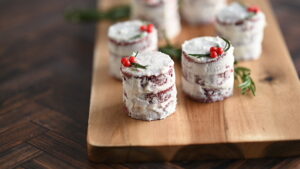
Chocolate Banana Split
Add a little extra indulgence to your summer and enjoy this twist on the classic banana split. It has all the classic ingredients: Neapolitan ice cream, banana slices, whipped cream, chocolate sauce, and cherries. So, what makes this banana split recipe so special? The addition of our Chocolate Crème Cake Roll! The rich chocolate cake and vanilla-flavored crème filling add an extra layer of sweetness to give you even more to enjoy.
What You’ll Need
- To get a smooth finish on your Dripping Ice Cream Cake Roll, a turntable is a great tool to have. It allows you to spin the cake around as you decorate, so you get a consistent finish on the frosting and decoration.
- An offset spatula and bench scraper will be used to even out the buttercream and give your cake a smooth, professional finish.
- For the frosting and decorating, you’ll need a few piping bags.
- A small to medium-sized mixing bowl that will be used to mix a piece of your cake roll and filling. This is how you’ll create your ice cream cone.
- Two parchment-lined cookie sheets will help keep your counters clean as you decorate.
- To stick the ice cream cone to your cake roll, use a cake pop stick.
Storage Information
If you have any leftover cake you want to save for later, put the pieces in an airtight container or cover the sections with any leftover frosting you may have. The cake can be stored like this for 4-5 days in the refrigerator.
Tips for Making a Dripping Ice Cream Cone Cake Roll
- Remember to scrape off any excess frosting from your offset spatula in between sections otherwise that excess frosting will just end up back on your cake.
- When it comes to doing the drip decoration on the cake, work slowly as you learn what techniques work best for you. We do recommend making your drips approximately one inch apart and varying the amount you use, so that the drips are all different lengths.
- Make sure your cake roll is thoroughly chilled before adding your drip. Chilling the cake will help your drips stay in place once they’re added and help prevent them from running too far down the cake.
Create a Dripping Ice Cream Cone Cake Roll of Your Own
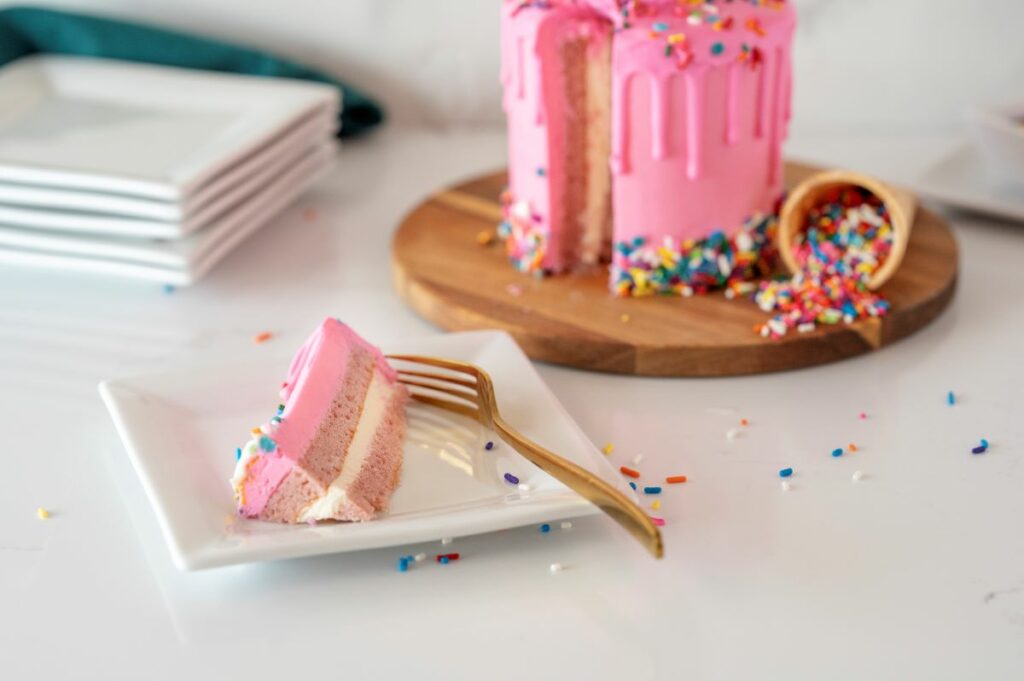
Servings: This beautiful Dripping Ice Cream Cone Cake Roll serves approx. 8 people.
Ingredients
- 1 Dutch Apron® Bakery Strawberry Cheesecake Cake Roll
- Ice cream cone
- Sprinkles
- Buttercream Frosting
- 2 c. unsalted butter, room temperature
- 1 tbsp. vanilla extract
- 1 tsp. salt
- 7 c. powdered sugar, sifted
- 2 tbsp. heavy cream
- Red gel food coloring
Instructions
Prep Your Cake Roll
- Take the Strawberry Cheesecake Cake Roll out of the packaging and let it sit on the counter to thaw for 15 minutes. It should just be starting to soften.
- Cut 1-2” off the cake roll and set aside.
- Move the remaining part of the cake roll to your turntable and place it vertically. Place a cake board underneath the cake roll before you begin to make it easier to move later.
Make the Buttercream Frosting
- In your stand mixer, beat the butter until smooth and light in color, about two minutes.
- Turn the mixer on low and slowly add your powdered sugar. Once it has been completely incorporated, add in the cream, salt, and vanilla extract. Mix until all ingredients are well combined.
- Scrape down the sides of the bowl. Add a few drops of red food coloring to make the frosting pink.
- Tip: Start with less food coloring. You can always add more as you continue to mix.
- On medium-high speed, beat the buttercream until it is light and fluffy, about five minutes.
- Finally, turn the mixer on low and mix for an additional two minutes to beat out any remaining air bubbles.
- Place the pink frosting into a piping bag and cut about 1” off the tip.
Frost the Cake Roll
- Pipe your frosting around the cake roll, starting at the bottom of the cake and working your way up. Don’t forget the top of the cake roll!
- Smooth out the top of the cake roll using your offset spatula.
- Then, take your offset spatula and use it to smooth the frosting on the sides of your cake roll as you turn your turntable.
- Now, use your bench scraper and start to scrape the buttercream, turning your turntable and moving your bench scraper until it is smooth and even.
- Tip: If there are any “holes” or gaps in the frosting, take your piping bag and fill those gaps in with more buttercream. Then, you can use your bench scraper to smooth it.
- After smoothing the sides of the cake roll, there will be an edge of frosting around the top. Take your offset spatula and smooth it out, starting from the outside and swiping it into the middle of the cake until it is flat and even.
- While the frosting is still wet, it’s time to add the bottom sprinkle layer. Place the cake and turntable on a parchment-lined cookie sheet; this is to catch any sprinkles that may fall during the process. Pour some of the sprinkles into your hand and press onto the bottom third of the cake. Be careful not to press too hard as that will dent the cake roll. Continue to press sprinkles into the cake roll until the entire bottom is covered.
- Let chill in the refrigerator for 15 minutes.
Make Your Ice Cream Cone
- Take the excess cake roll piece you cut off earlier and put it in your mixing bowl. Use your hands to blend the cake and filling together until you have a cake pop-like mixture.
- Fill the ice cream cone with part of the mixture. Shape the rest of the mixture into a ball and place it on top of the cone.
- Set the ice cream cone cake-side down on your second parchment-lined cookie sheet. Push the cone down gently until it goes slightly into the cake ball; we put our cone at a slight angle. Put this in the refrigerator to chill while you make the candy drip.
Prepare the Candy Drip
- In a medium-sized microwavable bowl, melt the pink candy melts by following the instructions on the packaging. Then, transfer it to a piping bag and cut a small amount off the tip.
- Take the cake roll out of the fridge and place it on the counter on your turntable. Start piping around the very edge of the top of the cake roll. You want it close enough that it spills over the side, but not so close that it goes all the way down the cake. If you’d like, you can use a spoon to gently push a tiny bit of the candy melt over the edge of the cake until it begins to run down.
- Spoon more of the candy melt on the top of the cake, a little at a time, smoothing as you go. Use enough to cover the top but not so much that it pushes more frosting over the side.
Add the Final Touches to the Dripping Ice Cream Cone Cake Roll
- Take the ice cream cone out of the refrigerator. While it is still on the cookie sheet, gently go around the cake ball with the melted candy until it is completely covered.
- Before the candy hardens, stick a cake pop stick through the cake ball into the cone. A few inches of the stick should still be visible.
- Insert the remaining piece of the cake pop stick into the center of the top of the cake roll. Press down on the cone very lightly.
- Add a little more of the melted candy over top of the cake ball, making sure everything is covered.
- Top the cake ball and the top of the cake roll with more sprinkles.
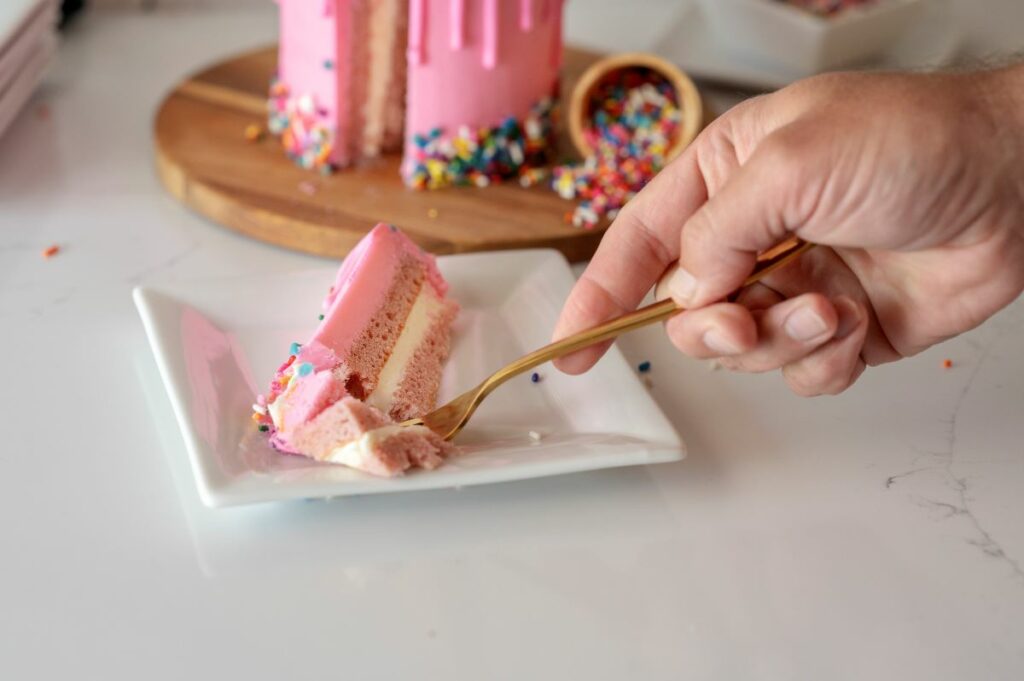
A Dripping Ice Cream Cone Cake Roll is sure to be the star of any celebration. With its colorful appearance and delicious flavors, it’s a treat that will bring joy to everyone who tries a slice. Whether you make it for a birthday party, graduation celebration, or just a weekend treat, the Dripping Ice Cream Cake Roll is sure to be a crowd pleaser.