Do you want to add a touch of spookiness to your Halloween sweets this year? Then, make some space on your dessert table for a few very special guests! Ghosts and ghouls of every age will shriek in delight when they see this series of Mini Monster Cake Rolls. Each one is filled with rich, decadent chocolate cake and a vanilla-flavored crème filling that’s sure to satisfy any sweet tooth. However, what truly sets these mini cakes apart are their playful, monstrous features.
Mini Monster Cake Rolls each have their own personality. Vibrant colors and spooky characteristics come together to make each one a sight to behold. In this post, we’ll share tips to help you make your own mini monsters, from creating the best colors and textures to choosing what finishing touches are needed to bring your Mini Monster Cake Rolls to life. So, put on your apron, grab your frosting bags, and get ready to eat, drink, and be scary!
More Frightfully Fun Recipes for Halloween
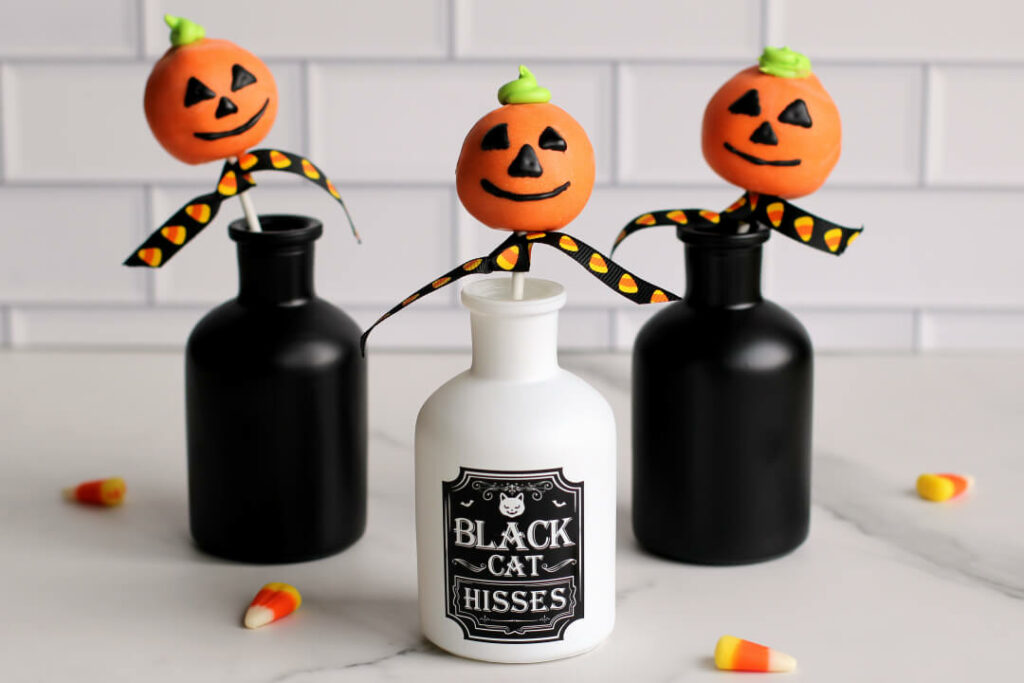
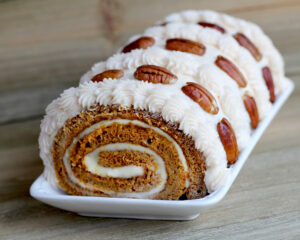
Jack O’ Lantern Cake Pops
The cake balls are made with a Pumpkin Cake Roll and cream cheese frosting to give them a pop of fall flavor. Just add the orange coating and draw on their signature faces for a traditional Halloween look or bring the whole family in and have a pumpkin cake pop decorating contest! It’s a great activity to help everyone get in the Halloween spirit.
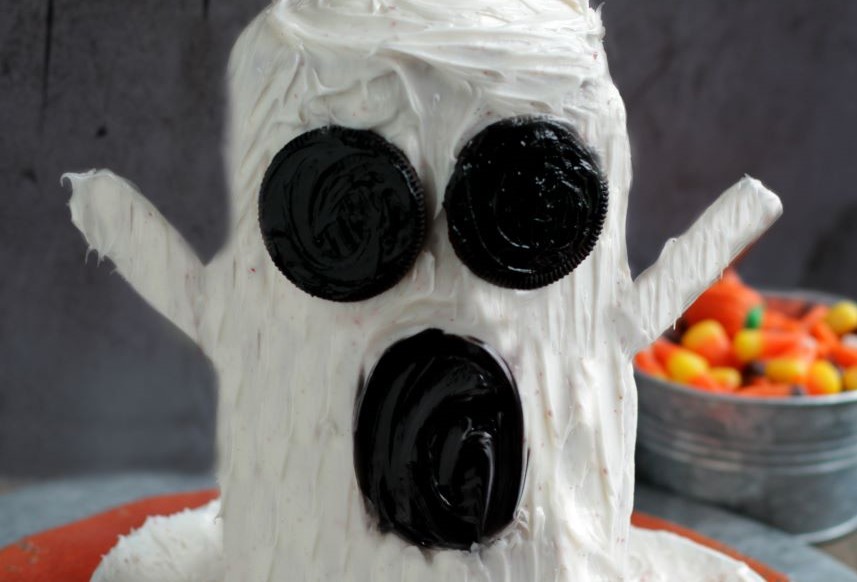
Ghost Cake Roll
Are you ready for our spookiest, scariest, and tastiest recipe of the year? Combine our decadent, crimson Red Velvet Cake Roll with midnight black cookies and ghost-white frosting to create an unforgettable dessert for your monster bash. It’s sure to take your Halloween celebration to the next level, and it’s easier than it looks!
What You’ll Need
- There’s a lot of decorating to be done to make all the Mini Monster Cake Rolls. You’ll need several 12” and 16” piping bags for all the different frosting colors.
- To go along with the piping bags, you’ll need a grass tip, a large round tip (1A), a star piping tip (1M), and two small star tips (21).
- Grab three cake boards to place your cake rolls on while decorating. These also make it easier to move your cake roll from one surface to another once your decorating is complete.
- An offset spatula or spoon is needed to make the scales for your purple monster.
Storage Information
A frosted cake can last up to a week when stored in the refrigerator. The frosting helps to lock in the moisture of the cake, keeping it fresh while you wait to serve. If you cut the cake first and then want to store it, put the pieces in an airtight container or cover the cut sections with any leftover frosting you may have. The cake can be stored like this for a week in the refrigerator.
Tips for Making Mini Monster Cake Rolls
- You can use any color or color combination for your frosting. Regardless of which colors you choose, make sure you use gel food coloring to create them. You need quite a bit of colorant to get these deep colors. With gel colors, you can use less colorant and end up with much more vibrant colors.
- If you need to use multiple tips for the same frosting colors, consider using a coupler. A coupler is a two-part device that allows you to switch out tips with the same bag of icing, so you don’t need to use multiple piping bags. It makes changing tips much easier.
- Learning to pipe different shapes takes practice. If some of the piping in this recipe is new to you, practice first on parchment paper. Practice the movement and amounts of pressure necessary to make the desired shapes. Once it begins to feel a little more natural, you can scrape the frosting off the parchment paper and put it back into your piping bag.
Create Mini Monster Cake Rolls for all Your Goblins and Ghouls to Enjoy
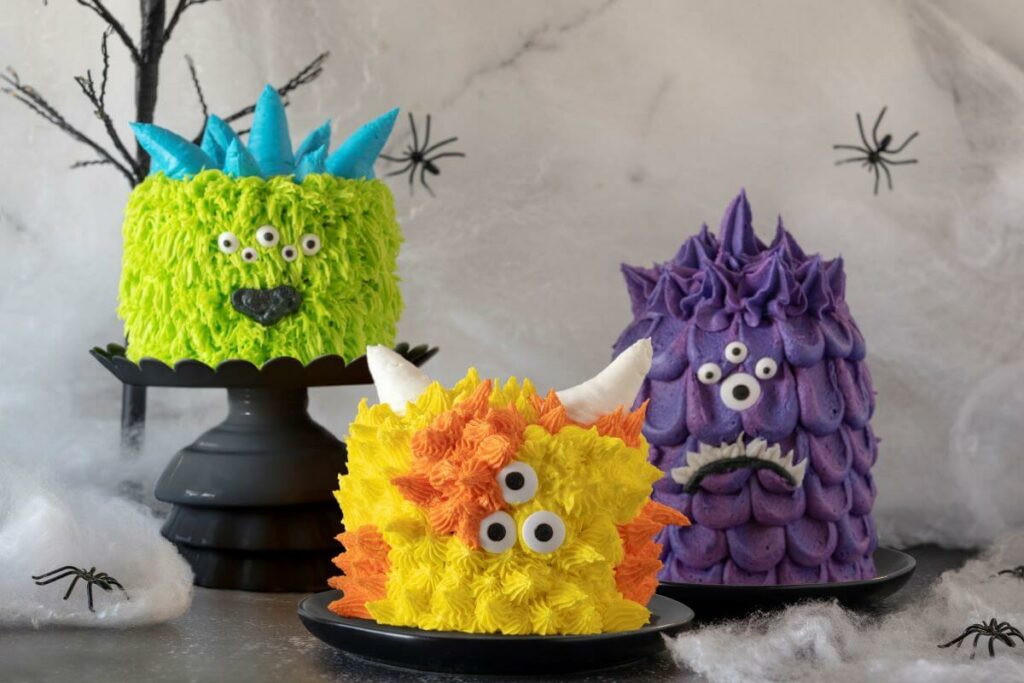
Servings: 3 Mini Monster Cake Rolls to share at your Halloween spooktacular.
Ingredients
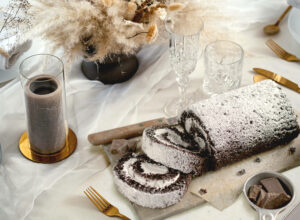
- 2 Dutch Apron® Bakery Chocolate Crème Cake Rolls
- 2 cans of white frosting
- Green, purple, yellow, blue, and orange gel food coloring
- Edible candy eyes
- Black decorating icing
Instructions
Prepare the Cake Rolls
- Take the Chocolate Crème Cake Rolls out of the packaging and let them sit on the counter to thaw for 15 minutes. They should just be starting to soften.
- Cut one of the cake rolls in half. Place each half vertically on its own cake board.
- From the second cake roll, cut off a 2-inch section. Then, place it vertically on a cake board.
- Mash up the 2-inch section into a cake pop-like mixture. Shape the mixture into a semicircular dome and place it on top of the taller cake roll. This will form the head of one of your monsters.
Color the Frosting
- Split your white frosting into seven different bowls. One bowl will stay white. Set that bowl aside.
- In the remaining six bowls, add food coloring until each one is your desired color. We had one bowl of lime green frosting, one bowl of bright yellow frosting, one bowl of bright orange frosting, one bowl of bright blue frosting, and two bowls of purple frosting – one light purple and one dark purple.
Give Your Green Monster his Fur and Horns
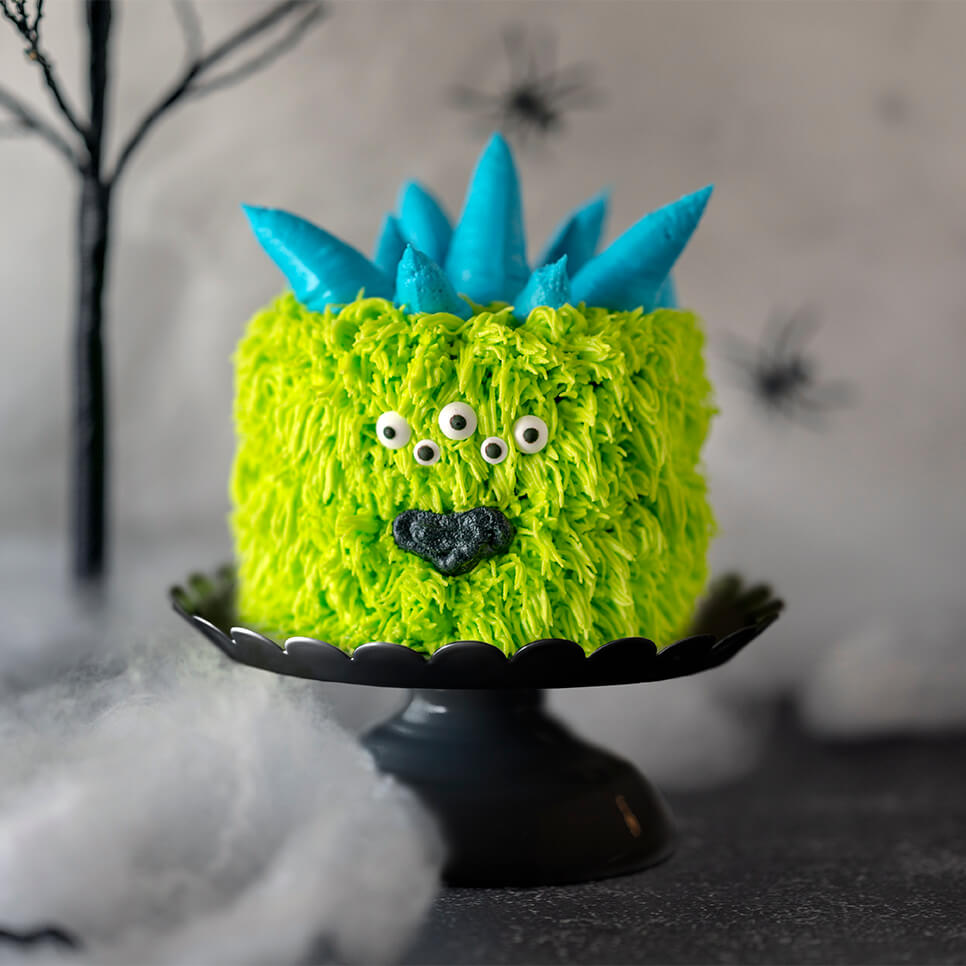
- Place the lime green frosting into a 12” piping bag fitted with a grass tip.
- Start at the bottom of one of your shorter cake rolls. Slowly, work your way around the base. Gently squeeze the bag and pull away slightly while releasing pressure to create the fur.
- Continue this process upward around the entire cake. Don’t forget the top!
- Then, place your blue frosting into a piping bag and cut off about an inch from the bottom of your piping bag. This will be used to make the horns.
- Once you’ve decided where you want your horns to go, put the piping bag close to the top of the cake and apply pressure while moving the piping bag straight up. Release once the horn has reached your desired length. Repeat as many times as you’d like.
- Tip: We ended up with roughly 10 horns of varying lengths.
Create Scales for the Purple Monster

- Put each shade of purple frosting in its own 12” piping bag. Then, take a 16” piping bag and fit it with a large round tip (1A). Fold the top of the 16” piping bag over. Put each of the smaller piping bags with the purple frosting into this larger piping bag. Fold the bag back up and twist the tops.
- Pipe big dots around the bottom of the tallest cake roll. This should be the one you gave the domed head to.
- After you’ve piped the dots around the base, use an offset spatula or the back of a spoon to swipe the frosting upwards. You should end up with frosting that looks like scales.
- Repeat the process one row at a time. Each row should overlap with the one below it to give your scales a layered look. Continue until you reach the base of the dome you created.
- Untwist your piping bag and remove the smaller bags from inside. Replace the 1A tip with a 1M tip. Put your smaller bags back into the larger bag and twist the tops once more. If you’ve used a coupler, just switch out the two tips and make sure the 1M tip is locked in place.
- Create short spikes on the top of the head to make the “hair”. Do this by squeezing the frosting onto the cakes and quickly pulling back while releasing pressure.
Cover the Orange-Yellow Monster in Spikes
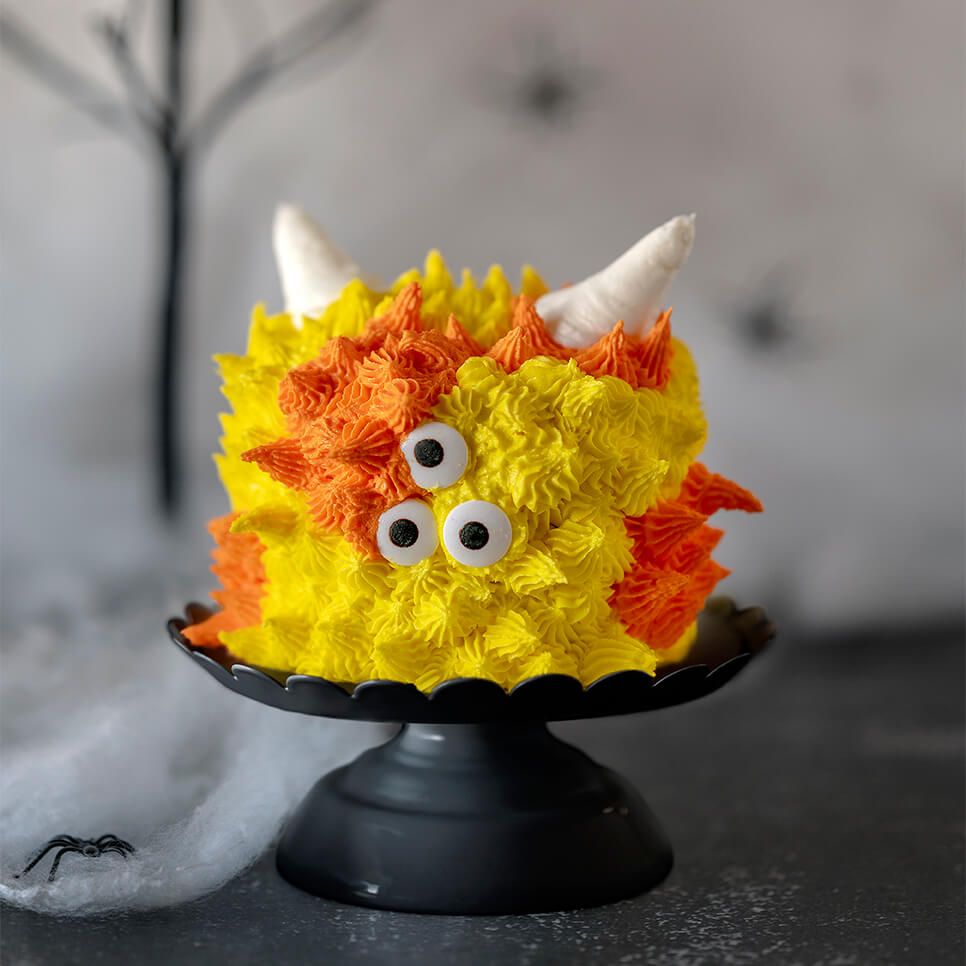
- Put the orange frosting and yellow frosting in separate, 12” piping bags. Each one should be fitted with a small star tip (21).
- Start by piping orange stars close together in random clusters all around your second shorter cake roll.
- Then, fill in the remaining areas with yellow stars.
- Again, don’t forget the top!
- Put some of the white frosting you set aside in a 12” piping bag and cut off about an inch from the bottom of the piping bag.
- Once you’ve decided where you want your horns to go, put the piping bag close to the top of the cake and apply pressure while moving the piping bag straight up. Release once the horn has reached your desired length. Repeat as many times as you’d like.
- Tip: We ended up with two horns for this monster.
Add the Finishing Touches
- Place edible candy eyes onto the monsters to give them personality. You can place them in clusters or at different spots around the cake roll.
- Pipe mouths on some of them using the black decorating frosting. We did this for our green monster and purple monster.
- For teeth, use the white frosting you put aside. Place it in a 12” piping bag with a small, V-shaped cut at the tip. Apply gentle pressure close to the cake, pulling up and away to create teeth. You can do this in a variety of sizes, shapes, and configurations.
As the spookiest season of the year creeps closer, these Mini Monster Cake Rolls will be the perfect centerpieces for all your seasonal events. With their chocolatey base, sweet frosting, and whimsical decorations, these delightful cakes are perfect for Halloween costume parties, seasonal birthdays, or any occasion that calls for a touch of sweet spookiness. So, go ahead, unleash your inner cake monster and go wild with your decorating efforts. Once you do, you’ll find that Halloween has never tasted so sweet.