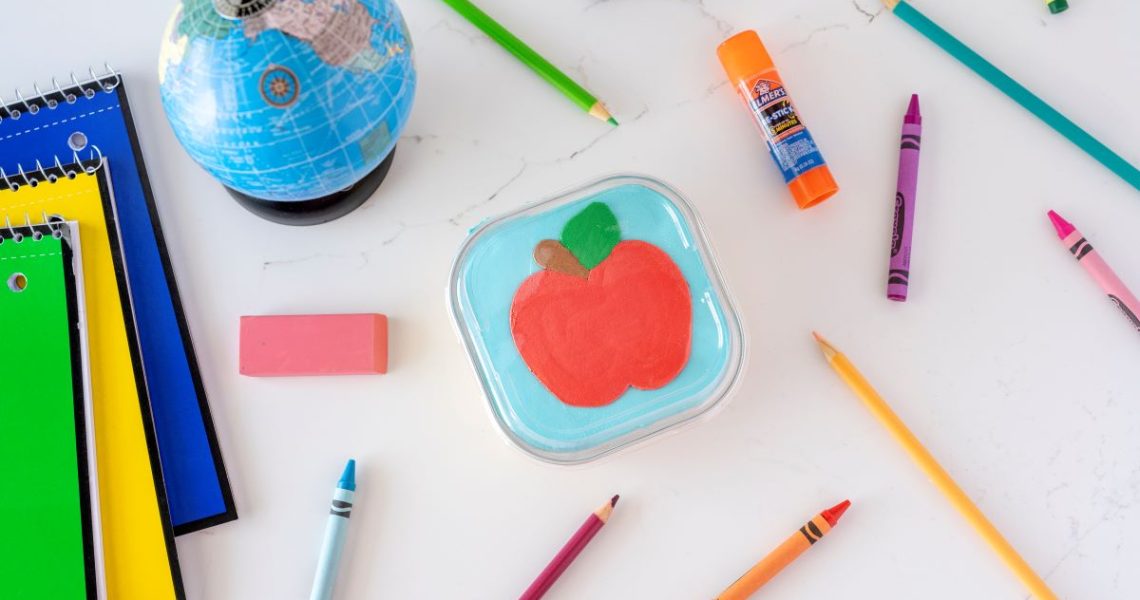
As the back-to-school season approaches, it’s time to get creative with delicious treats that will bring a smile to your young learners’ faces. Our Chocolate Chip Cookie Snack Pans are the perfect scholarly desserts, combining the classic flavors of chocolate chip cookies with a bright, fun apple buttercream design. These adorable pans feature Dutch Apron® Bakery’s soft and chewy Chocolate Chip Cooke Dough which are baked and topped with colorful, sweet buttercream frosting. They’re not only delightful to look at; they also taste incredible. Whether you’re preparing something special for your little ones or surprising a teacher with a tasty treat, these snack pans are sure to become an instant hit!
Want More Cookie Dough Recipes?
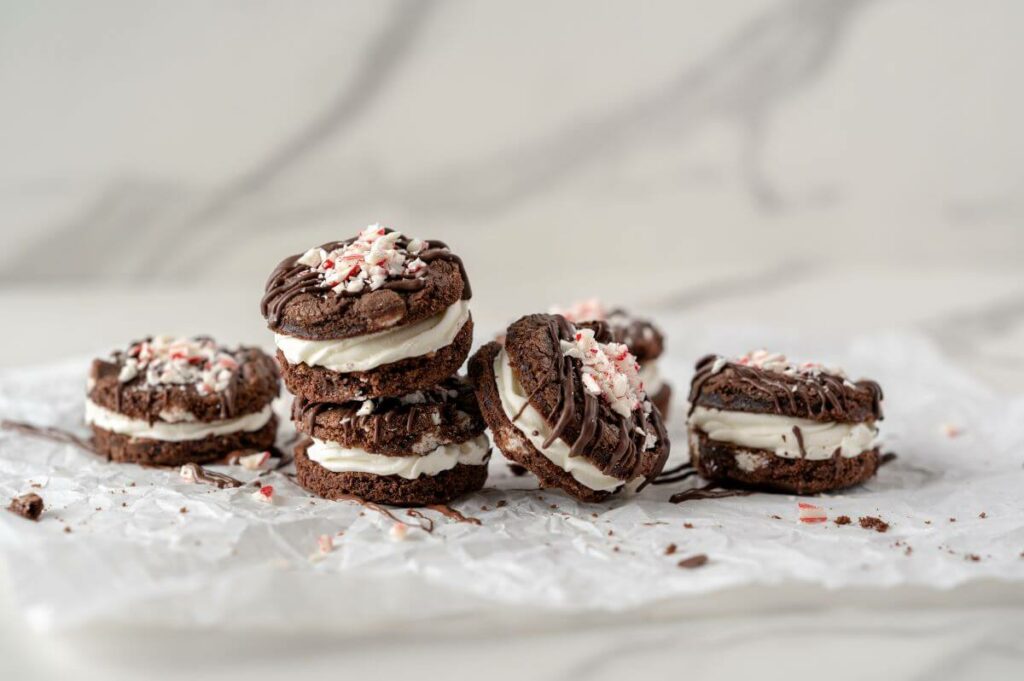
Triple Chocolate Peppermint Cookie Sandwiches
These cookie sandwiches are made from two rich, decadent triple chocolate cookies that are sandwiched together by a fluffy peppermint-flavored buttercream filling. Top with a milk chocolate drizzle and crushed peppermint pieces for a treat that’s sweet, refreshing, and beautiful.
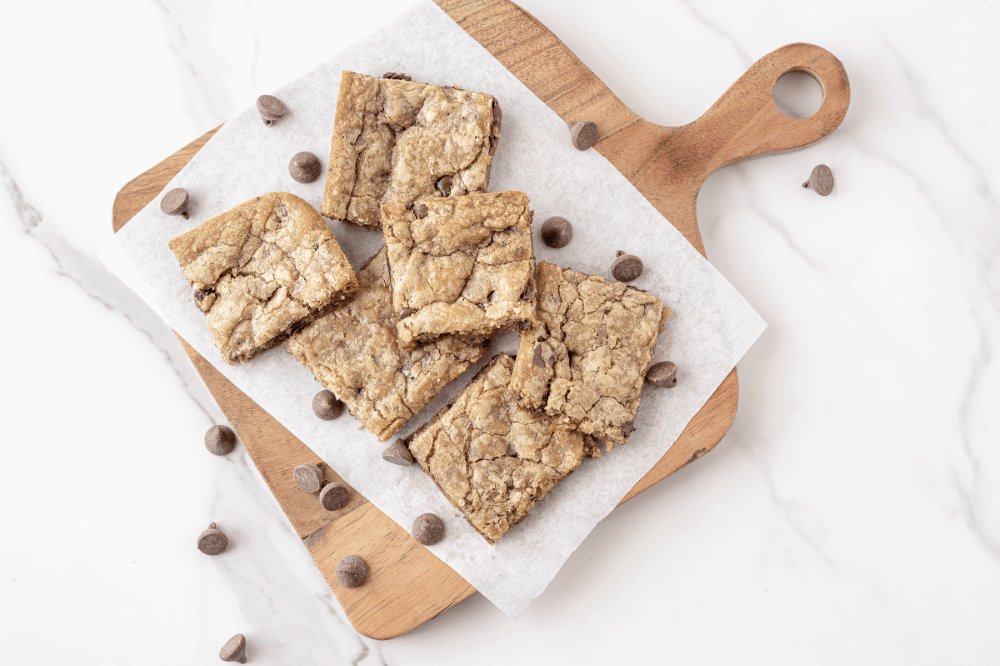
Chocolate Chip Cookie Bars
If you’re in need of a delicious treat that will please a crowd and can come together in just minutes, you need to try Chocolate Chip Cookie Bars. These bars are soft and chewy; they have the perfect crunchy edges and are filled with an abundance of semisweet chocolate chips. Who wouldn’t want more treats like that in their life?

Oatmeal Cranberry Lemon Meringue Cookie Cups
Are you searching for a sweet and tangy treat that’s perfect for any occasion? Look no further than these Oatmeal Cranberry Lemon Meringue Cookie Cups! With their soft and chewy oatmeal base, tart cranberries, zesty lemon curd filling, and quick meringue topping, these bite-sized delights are an absolute crowd pleaser.
What You’ll Need
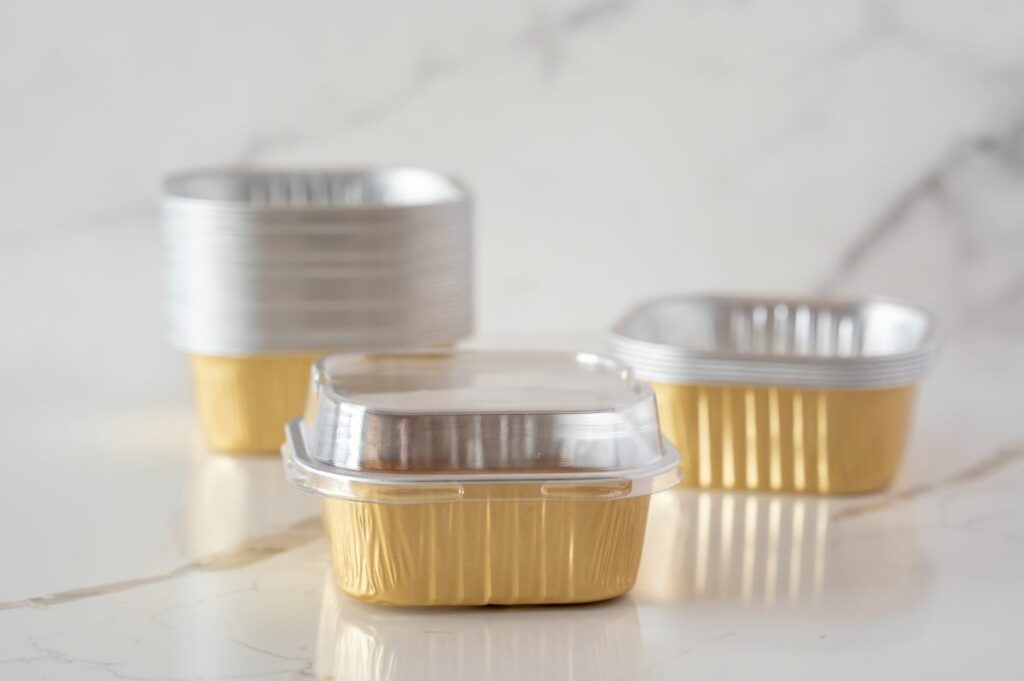
- Mini Cake Pans are the containers you’ll use to bake your cookies in. They’re small and come with lids, so they’re perfect for including in your little one’s lunchbox or for giving to teachers as a “thank you” gift.
- These mini pans can be found and ordered online. This is the link to the pans we used for this recipe: 40 Pack Aluminum Foil Brownie Pans.
- A stand mixer and bowl to make the buttercream frosting. This will help make sure your ingredients are well combined, so you don’t have any large chunks in your frosting. Alternatively, you can use a large mixing bowl and a hand mixer.
- To decorate your Chocolate Chip Cookie Snack Pans, you’ll need at least four 12” piping bags.
- An offset spatula is what you’ll use to evenly spread the buttercream on the top of your cake pans.
- For the perfect finish touch, have some wax paper on hand to completely smooth out your buttercream decorations.
Storage Information
Chocolate Chip Cookie Snack Pans can be stored at room temperature for two days, just make sure to cover the pans with the lids they came with. They can be stored for up to five days in the refrigerator.
Tips for Making Chocolate Chip Cookie Snack Pans
- Make sure the cookies and the snack pans are completely cool before you add your buttercream. If they aren’t, the buttercream will begin to melt once it hits the warm cookie/pan.
- If you’ve had issues with lumpy buttercream in the past, we recommend sifting your powdered sugar before using it. Sifting removes all the unwanted clumps from your powdered sugar and makes it airier and lighter.
- Gel food coloring works best when it comes to buttercream. A standard food coloring would make the frosting too loose, and it wouldn’t hold its shape.
Learn to Make Your Own A+ Chocolate Chip Cookie Snack Pans
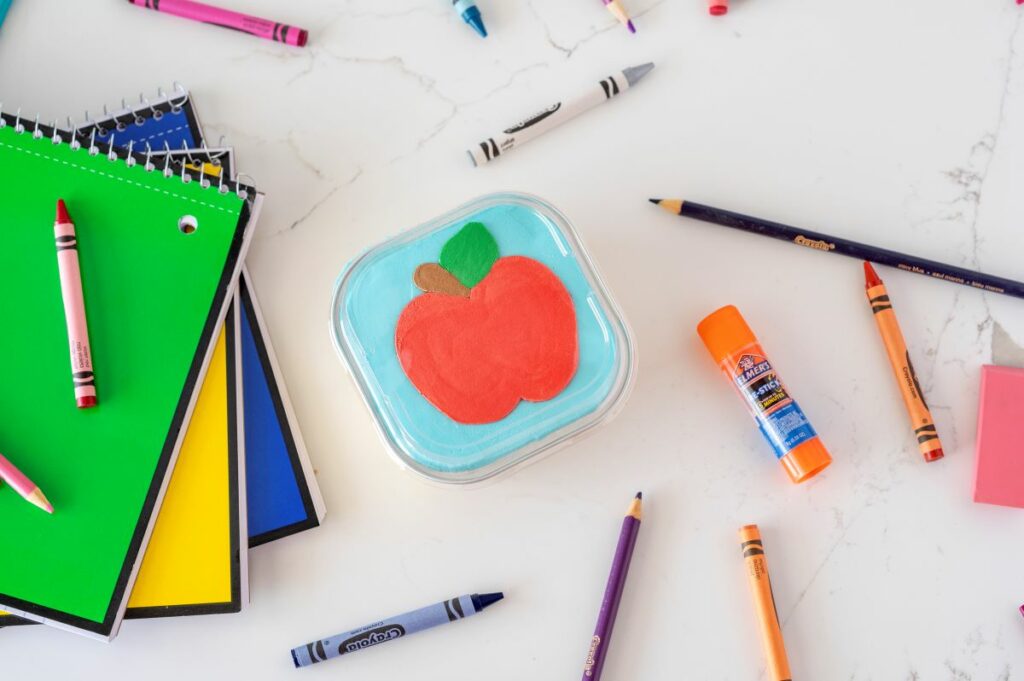
Servings: This recipe makes approximately 10 Chocolate Chip Cookie Snack Pans to share with everyone during your back-to-school celebrations.
Ingredients
- 1 pkg. Dutch Apron® Bakery Chocolate Chip Cookie Dough
- Buttercream Frosting
- 2 c. unsalted butter, room temperature
- 1 tbsp. vanilla extract
- 1 tsp. salt
- 7 c. powdered sugar, sifted
- 2 tbsp. heavy cream
- Food coloring: Red, green, and blue
Instructions
Bake the Cookies
- Preheat the oven to 325°F.
- Spray each tin you plan to use with cooking spray.
- Put four squares of thawed cookie dough into each pan. Press the cookie dough into the pan as flat as possible to make sure it is evenly spread out and goes all the way to the edge of the pan.
- Bake for 17-20 minutes, or until the top of the cookies are golden brown.
- Tip: The edges of the cookies will puff up and become a darker brown. That is okay!
- Let your cookies cool completely.
Make the Buttercream Frosting
- In your stand mixer, beat the butter until smooth and light in color, about two minutes.
- Turn the mixer on low and slowly add your powdered sugar. Once it has been completely incorporated, add in the cream, salt, and vanilla extract. Mix until all ingredients are well combined.
- Scrape down the sides of the bowl. On medium-high speed, beat the buttercream until it is light and fluffy, about five minutes.
- Finally, turn the mixer on low and mix for an additional two minutes to beat out any remaining air bubbles.
Color the Frosting
- Separate your frosting into four different bowls. One bowl should have much more frosting than the other three as you’ll use more of your blue buttercream than any other color.
- In the bowl with the most buttercream, add 2-3 drops of blue food coloring to create a light blue color.
- For the second bowl, add 6-7 drops of red food coloring to create a vibrant red color. This should resemble the color of a red apple.
- In the third bowl, add 2-3 drops of green food coloring to create a lighter green color. This should resemble the color of a green leaf.
- Finally, in the last bowl, mix an equal amount of red and green food coloring to create a brown color.
- Place each color in separate 12” piping bags. Cut the tips off the bags.
Frost Your Chocolate Chip Cookie Snack Pans
- With the blue buttercream piping bag, pipe and fill the pan with buttercream until it reaches the top of the tin.
- Then, take a small offset spatula and smooth out the frosting until it is completely even. Use a paper towel to wipe down the edges of the pan.
- Take the red buttercream piping bag and pipe an apple shape on top of the blue buttercream.
- Use the brown buttercream to pipe on a stem on the top of your apple.
- Finally, take the green buttercream and pipe a leaf coming off the stem of the apple.
- Tip: Try to make the amount of frosting you use even across all elements for your apple.
- To smooth out your buttercream, take a piece of wax paper and press it down very gently on the top of your pan.
- Flip the pan over, so it is now upside down with the wax paper between the pan and a flat surface (like a table). Press down very gently on the bottom of the pan.
- Put your snack pan in the freezer like this for five minutes.
- Take the snack pan out of the freezer and remove the wax paper. If the buttercream still has piping lines, you can take your offset spatula and run it under hot water. Shake off any excess water. Then, lightly run it over the frosting. Make sure you clean it off between each color of frosting.
Get ready to welcome the new school year with these delicious and adorable Chocolate Chip Cookie Snack Pans. Whether you’re a parent looking to give your children something special in their lunchbox or a teacher treating your students, these snack pans are sure to effortlessly impress and add a touch of sweetness to the back-to-school season. So, bake up a batch of these delightful treats and make those first days of school even more special for all your loved ones.
